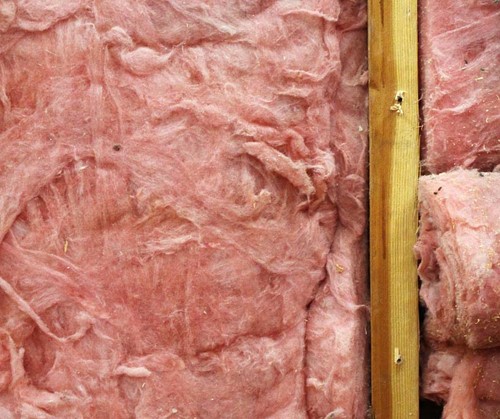
Image by mnplatypus from Pixabay
Proper insulation not only helps you save on your energy bills. It reduces your energy impact on the environment and may create a great selling point for your home when the time comes. But knowing were to insulate an existing home can be a project. Here’s what you need to know.
How to Do an Insulation Assessment
First, you’ll need to turn off the power at the breaker box. Have your flashlights ready.
Remove outlet covers around your home and look inside to see if you have insulation. You might not have to check every outlet, but do check them on multiple floors and one on each wall to understand how well walls are insulated.
If you have a wall that gets hot in the summer or cold in the winter, you may want to dig deeper. Pull a little out to see what kind it is and how thick it is.
Next, check your attic, basement and crawlspaces. This insulation you can more easily see. Use a yardstick to measure its depth and look for areas that are thinner than others.
Additionally, you may consider insulating:
What You’ll Need to Install Installation
There are many insulation projects you can DIY. For example, re-caulking leaky windows and sealing drafty doors can help tremendously. But you can also add insulation in the attic and basement with either loose-fill or blanket insulation. Here’s what you need.
Prep the Area
Take this opportunity to look for leaks. If you see signs of active water damage, you need to repair it before laying insulation. Now, place your plywood so you have somewhere to stand safely.
Lay Insulation
Lay insulation in areas where it’s lacking. You can staple it to roof beams and beams on the floor. Just cut it to size if needed.
Keep in mind that when you open a pack of roll insulation, it expands. So please don’t open it until you have it in the general area where you want it.
*Pro tip* To cut blanket insulation more easily to fit, lay a two-by-four over the place where you want to cut it. This temporarily compresses it there so that you have a thickness that’s easier to cut through.
If using loose insulation, power up your insulation blower and aim where padding is needed. Always, carefully rinse off after applying insulation to reduce skin and lung exposure.
And you’re ready for lower energy bills through winter and summer. For more tips DIY home maintenance tips, follow our blog.
